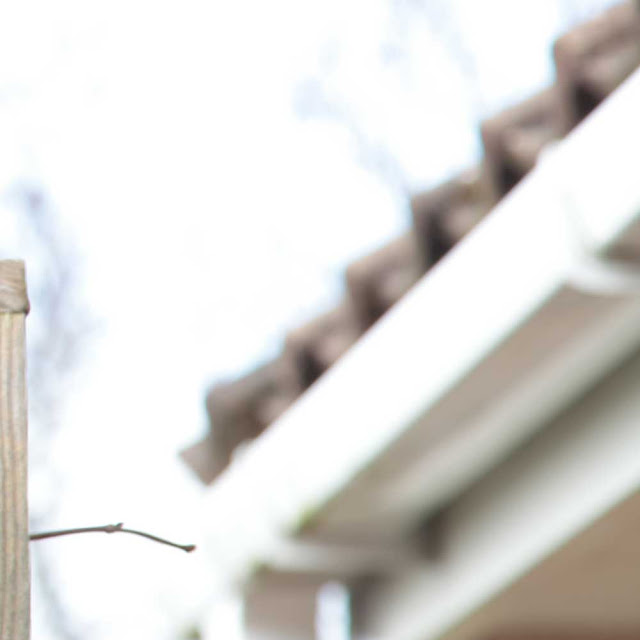
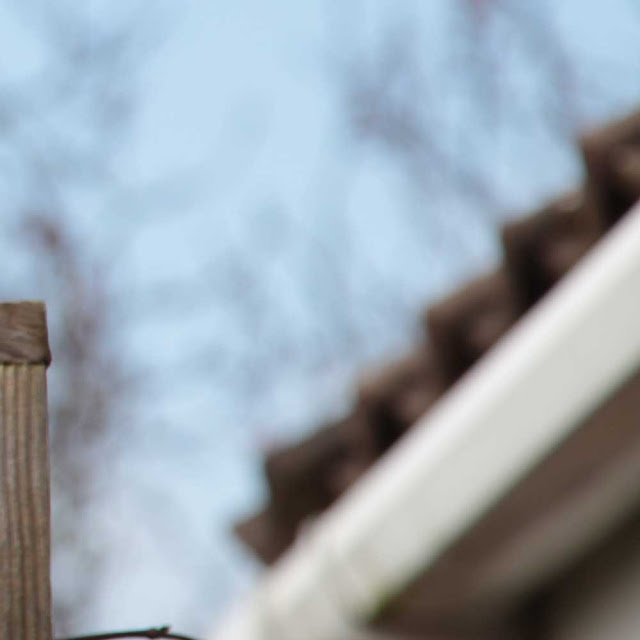
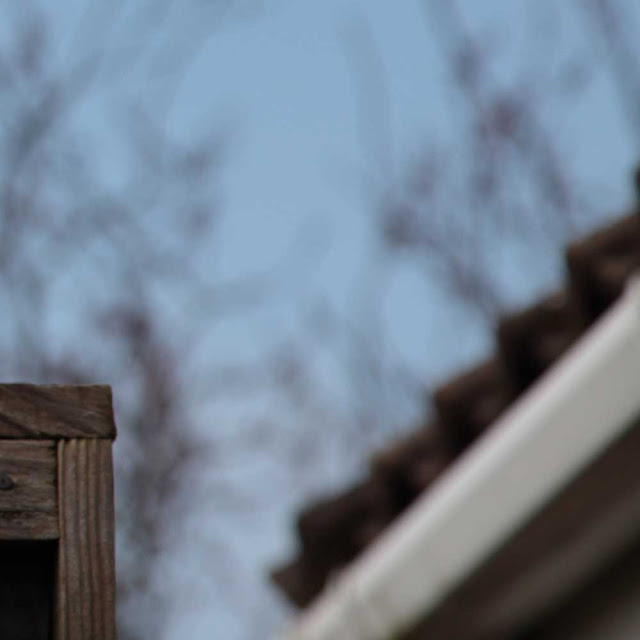
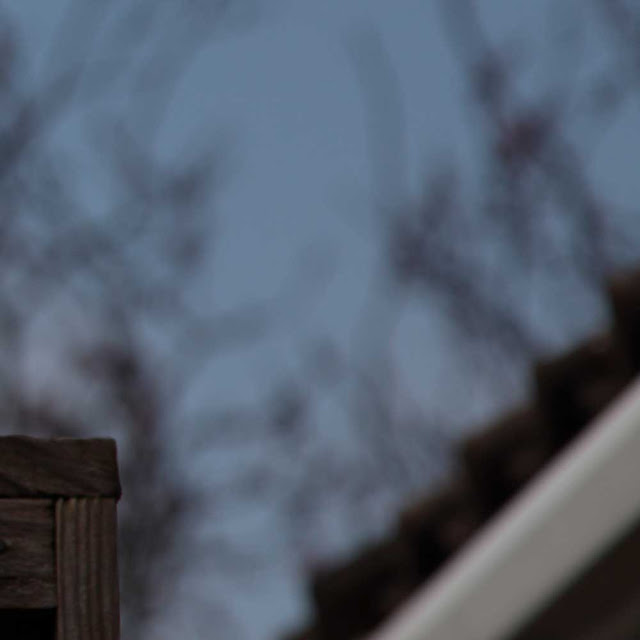
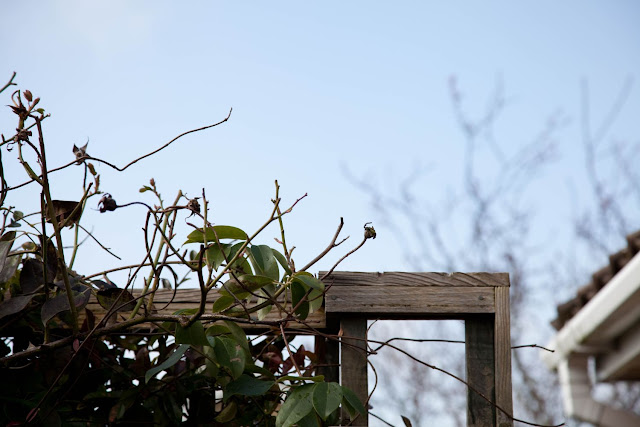
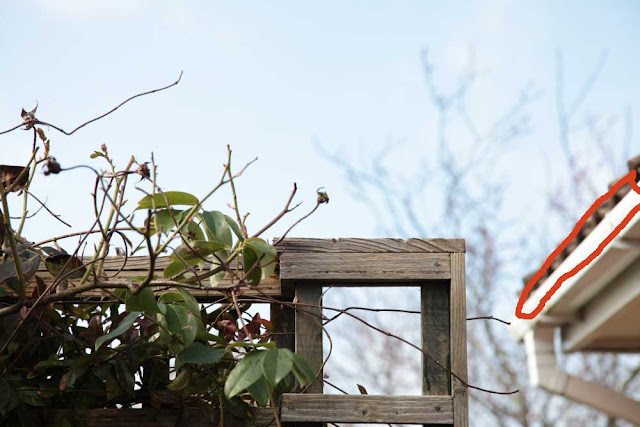
To start this exercise I have taken five exposures of a contrasty subject. The first photograph was exposed to get just the slightest amount of highlight alert showing on the camera LCD screen. The second shot was a stop more exposed than this. A further three images were then taken at one stop, two stops and three stops under the initial exposure.
 |
P1. The base image showing the area where the highlight alert has started to flash on the camera.
(ISO 100, 1/160 @ F5.6 105mm. The image has had no processing done other than a RAW conversion to JPG.) |
Below are the five shots, cropped to just the area where the highlight alert was activated.
 |
| P2. The base line image. |
The base image (P2) shows just a little highlight clipping along the edge of the gutter (In the area indicated in P1). The gutter is still rendered in a satisfactory manner though. Very nearly all of the image information is still present along the side of the gutter and it is clear where the shade changes to darker on the edge of the vertical section. There does not appear to be any colour cast and the overall image saturation is good.
 |
| P3. Base line + 1 stop. |
Next up, Image P3 which is one stop over the base image. This has noticeable data loss. The side of the gutter appears as one long white strip. Branches of the tree in the background have disappeared completely and in the top left of the image the sky virtually blends in to the background white. There appears to be blue fringing around the top of the roof tiles and a possible band of fringing along the top of the gutter. The whole image is less saturated than the base image.
 |
| P4. Base line - 1 stop. |
At one stop under the base image (P4) we have regained the saturation and detail in the sky and gutter. In fact the saturation is greater than in the base image. The blue fringing is no longer apparent along the roof tiles - perhaps it has merged back in with the blue of the sky. There is still information in the dark areas and this would in my opinion still make an acceptable image.
 |
| P5. Base line - 2 stops. |
P5 is starting to go too far the other way. We are starting to lose detail in the roof tiles and although the gutter is still clearly defined it appears that a darker fringe is starting to appear where the gutter meets the roof tiles. The image is very dark and we seem to be losing the range of tones we had in the base image.
 |
| P6. Base line - 3 stops. |
The final crop (P6) has lost a lot of detail to the dark areas. There is definite fringing along the top of the gutter with a red/purple colour cast. Darker areas have completely blocked out and the area that initially had a highlight warning is about the only area left with some white showing.
At this stage I think I would be happy to accept the base image or image P4.
For the second part of this exercise I am going to process the image using the recovery sliders, which are called simply 'Highlight' and 'Shadow' in the Canon RAW converter.
In practice I found that the controls in the Canon software did not offer the range of adjustment that other software offers. On the bright side this does encourage accuracy at the time of taking the picture! To complete this exercise I switched to Adobe Lightroom, my version being 2.7.
Starting with the base image I turned on the highlight indicator and adjusted the recovery slider. At +19 the red highlight alert had completely gone. I did this several times paying attention to the rest of the image. Interestingly the base image has a larger area of highlight alert in Lightroom than it does in the Canon RAW converter. We must be seeing software differences in the way the linear data capture is being translated. When adjusting the recovery slider, our original warning area is the last to disappear.
Moving on to the second image (P3) which was exposed at +1 stop. This image has the whole sky coloured red as a clipping warning. The recovery slider has to be moved all the way up to +34 to lose the alerts. On this occasion all the red disappears at almost the same time. Even when all the clipping has been eradicated,the image still looks over-exposed.
On the final three pictures, there was no highlight clipping as they were under exposed. I still played with the recovery slider to see what effect it would have. It was noticeable that the lighter areas such as the sky were affected and became darker whereas the foreground wooden fence stayed very close to it's original exposure.
I checked the rest of the image for noise and digital errors and to be fair to Lightroom, I found virtually no evidence of this. What I did see is that the transition from dark to light happened more quickly when I ramped up the slider. This was apparent in areas such as the side of the gutter.
Here is the edit I chose as most favourable. It is 1 stop under the base image and didn't need any adjustment either way. There is detail in the shadow areas and the highlights were not clipped.
 |
| The final choice. 1 Stop under the base image. |
