This exercise is similar to one carried out in the first section of my course, 'The Art of Photography'. We are examining the effect of the camera's white balance setting on the colour tone of a scene.
Colour temperature is measured in in units known as Kelvins and is related to the light that is radiated when a metallic incandescent light source is heated to various temperatures (Hicks, 2005). The range of colours we go through is roughly red, orange, yellow, white and through on to blue. On the Kelvin scale the temperatures run from approximately 2000K to 16000k with neutral white light coming in at around 5500K
White is generally considered to be the visual standard and this can be found in the middle of the day. We are likely to find the lower temperature red (2000 - 3500K) in the early morning and late afternoon . A blue cast (7000K) can be found in the shadows on a sunny day, at dusk or in cloudy weather.
Also of importance is the colour temperature of indoor tungsten lighting which is around 2900K to 3500K, so in the orange/red area. For the sake of this exercise we will not include florescent lighting as this is not classed as incandescent light and can therefore not be measured in Kelvins.
Armed with this knowledge we can proceed with the exercise. The camera has settings for Auto, Shade, Cloudy, Sunlight, various artificial light sources and custom white balance. We are going to see how well some of these settings work for given situations.
The first group of pictures were taken under sunny conditions. In this sequence the difference between auto and cloudy seems difficult to detect but both seem a little lighter than the sunlight shot. Maybe cloudy has added a little more exposure? The sunlight setting appears pretty close to how I remember the scene. The 'shade' white balanced version appears the most different. The camera processor has added orange/yellow to the image. The amount that has been added has made the image much warmer than the sunlight setting. This makes perfect sense. The camera has assumed that I have photographed something in the shade so has added orange/yellow to compensate for the blue cast mentioned above. Unfortunately I lied to the camera and the orange/yellow has been added to a normally daylight balanced photo!
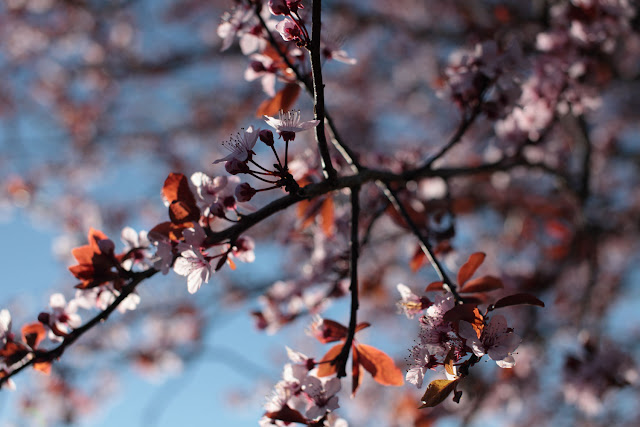 |
| Auto white balance, F4 @ 1/ 2500 200 ISO. |
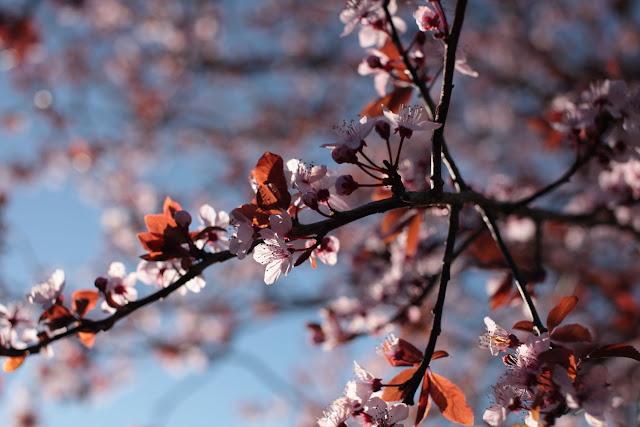 |
| Cloudy white balance, F4 @ 1/ 2500 200 ISO. |
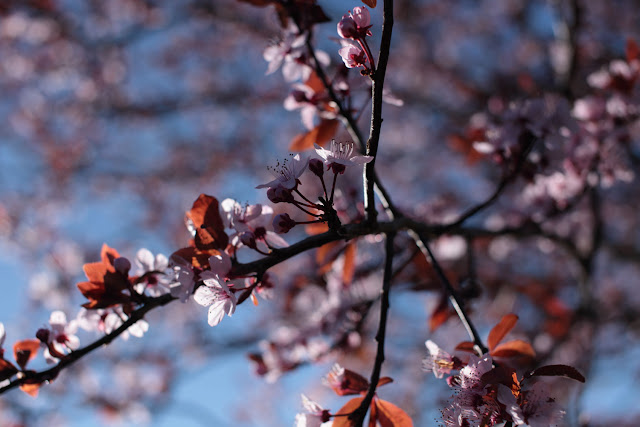 |
| Sunlight white balance, F4 @ 1/ 2500 200 ISO. |
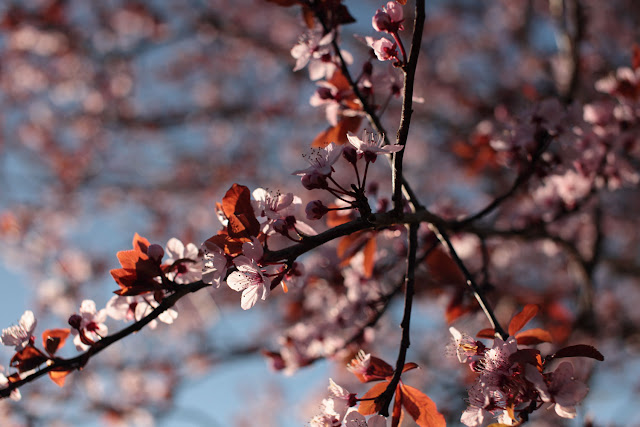 |
Shade white balance, F4 @ 1/ 2500 200 ISO.
The camera has mistakenly added yellow to compensate for the non existing blue cast! |
The next group of images has been shot in open shade on a sunny day. The shade has been provided by trees. The first picture has been taken with the white balance set to shade. The colours are very saturated and the image is very warm - maybe a little warmer than I remember.
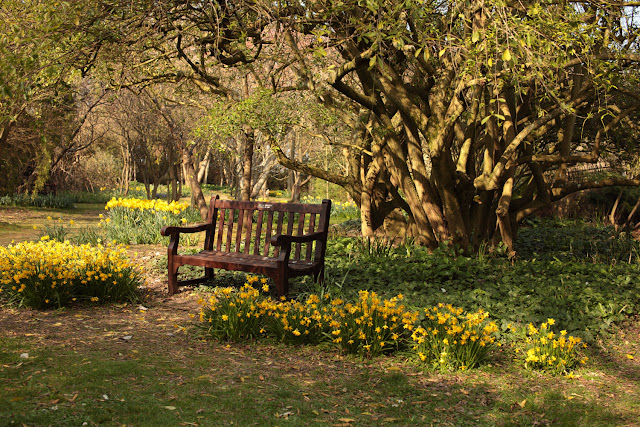 |
| Shade white balance, F5.6 @ 1/125 100 ISO. |
The next shot is how the camera has seen it. This is radically different to the one above. The camera seems to have gone too far the other way and added too much blue. As I remember the shot it sat between the two. If I had to make a choice though, I would choose the top image.
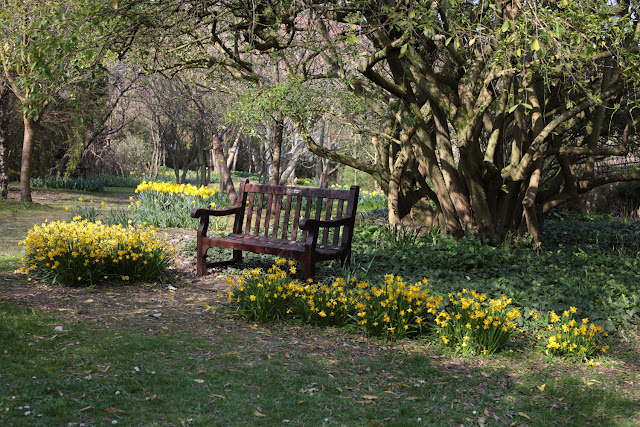 |
| Auto white balance, F5.6 @1/125 100 ISO. |
The following image has been taken with the camera set to sunny white balance. On my camera sunny is actually referred to a daylight. We know that daylight, or midday is considered the yard stick by which the temperature is measured so I am expecting the camera to not make any adjustment here. This image appears to sit half way between the auto setting and the shade setting, much as I remember the scene. Perhaps my 'open shade' wasn't shady enough and the shade setting has added too much orange to the scene?
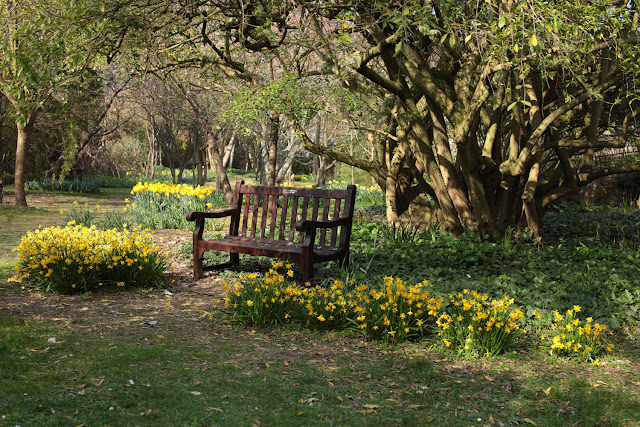 |
| Sunny white balance, F5.6 1/125 100 ISO. |
The final image in this sequence is using the cloudy setting. I am expecting the camera to add orange to compensate for a blueish cast and believe this is what has happened. This has warmed the image just past the sunny and auto settings. Again we have very saturated colours.
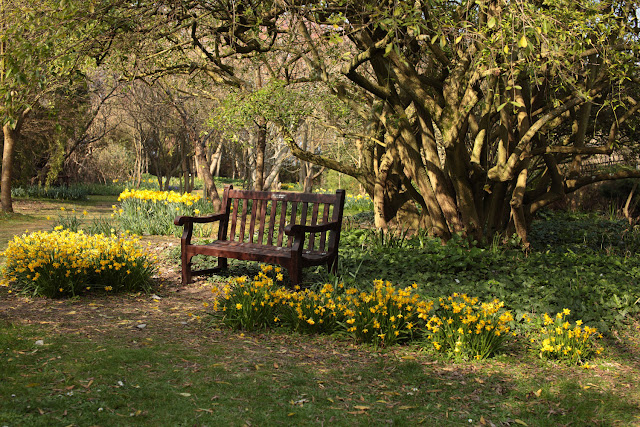 |
| Cloudy white balance, F5.6 1/125 100 ISO. |
The final sequence of images were taken in cloudy/overcast weather. Admittedly not the best of pictures but funny how all the clouds disappear when you need them! I have started this sequence with the cloudy white balance shot. This is a pretty accurate rendering of how I remember the scene.
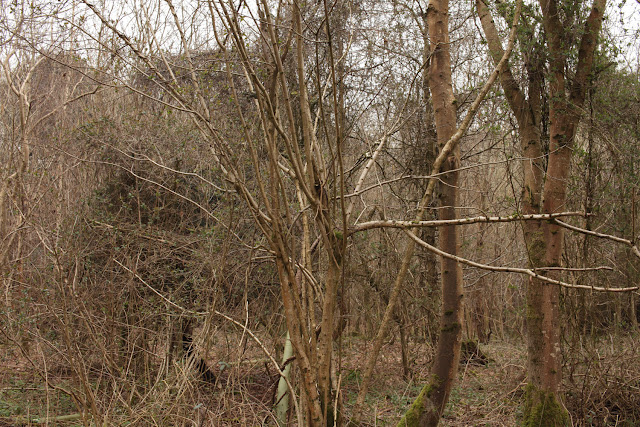 |
| Cloudy white balance, F8 1/40 200 ISO. |
Compare this to the cameras auto setting. Again the auto setting is radically different from the setting above! This shot is much too cold!
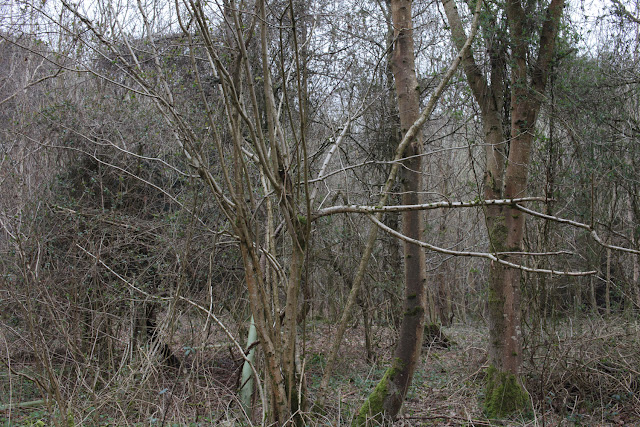 |
| Auto white balance, F8 1/40 200 ISO |
Daylight white balance (below) is a little better than auto but still too cool.
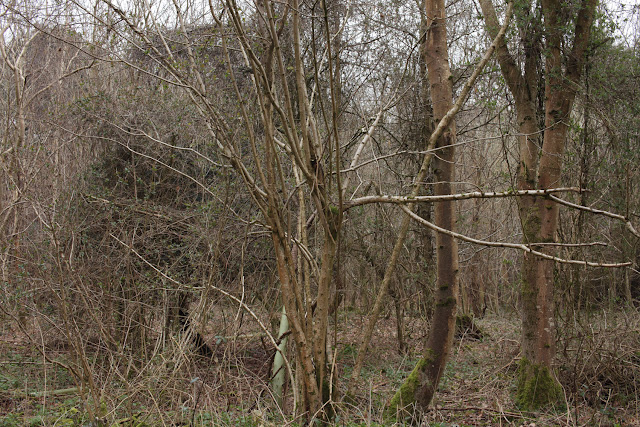 |
| Daylight white balance, F8 1/40 200 ISO |
And finally the shade white balance has warmed the image up too much. The colours are now too orange.
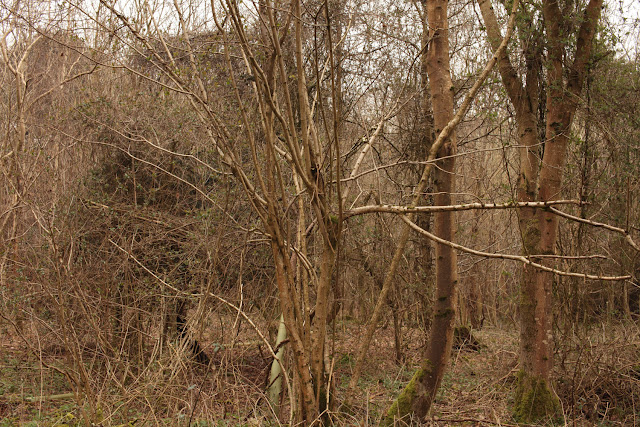 |
| Shade white balance, F8 1/40 200 ISO |
This exercise has not only shown how the camera settings can vary and that one has to be careful about setting or choosing the white balance but also how the white balance could be deliberately set in a manner that may not faithfully reproduce the colours but could be used for creative effect. There is also a noticeable increase or decrease in saturation under different white balance settings. Also worthy of note is the fact that when viewing the images in isolation it is not always quite so obvious that there may be a colour cast present.
I shoot RAW all of the time and this is one reason that makes this worthwhile. The white balance can be tweaked in software after the shot has been taken. On important shoots I have also started using a grey card for the same reason.
The final part of this exercise asks us to compare settings for an image shot partially in natural light and incandescent light. To make this picture I shot from within a room with the light on through a window to the natural light outside.
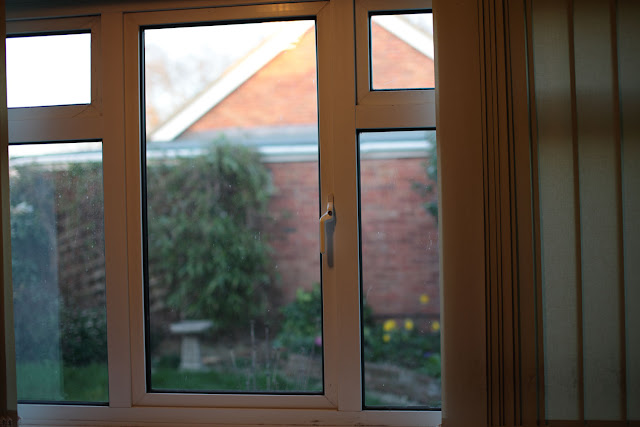 |
| Auto white balance, F1.8 1/60 100 ISO. |
Above, auto white balance seems to have opted for the outside. The tungsten lighting is rendered in an orange colour.
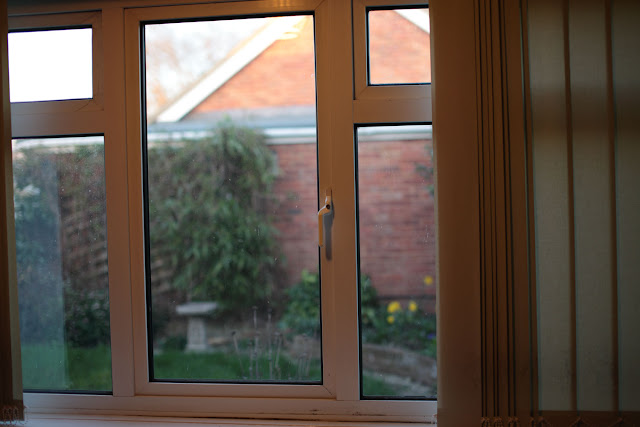 |
| Daylight white balance, F1.8 1/60 100 ISO. |
To prove the point that the auto has settled for daylight white balance, this is the daylight setting. Very similar to the photo above, maybe a little more orange.
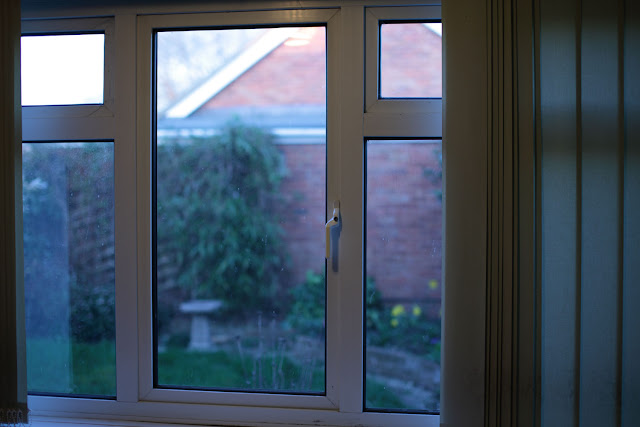 |
| Tungsten white balance, F1.8 1/60 100 ISO. |
Finally with the white balance set to tungsten, the indoor lighting has been rendered in a more natural colour. This is at the cost of the view through the window which has now taken on a blue cast. In this situation it would be very difficult to satisfy both conditions in camera and a compromise would have to be made.
Pushed to make a choice, I think I would choose the daylight balanced version. There is no main subject to focus on so it is purely a matter of what feels right. I like the warm interior and natural lighting on the other side of the window and can identify with the colours this way. I feel there is little difference between this and the second shot but that the tungsten balanced photo is too cold.
Sources:
Hicks, N, "The photographers guide to light", David & Charles.


